Creating local production-like dev environments on Kubernetes

tl;dr
- The challenge: How to create a dev environment that feels like production, but is actually easy to set up and runs without overhead or costs?
- The answer: Docker Desktop + mogenius. The first is probably already running on your machine; the latter can be set up in a few minutes.
- What you can expect: Docker Desktop has a built-in local Kubernetes. By connecting it to mogenius you’ll get an easy-to-use PaaS to deploy any container application to the cluster and manage it easily.
- Summary: mogenius and Docker Desktop are the ultimate combo for an easy-to-use, yet powerful dev environment.
Too good to be true? Here’s the details…
The Challenge: Getting Dev Environments Right
We all know the drill: devs need to be able to work their magic independently. And in the era of containerized microservices that flex between your local machine and the cloud (thanks, Kubernetes), we've got some high expectations. We're talking about environments that:
- Get along with Kubernetes
- Work seamlessly on your local machine
- Don’t demand a PhD to set up and maintain (not even talking about costs here)
Sounds like quite a challenge. Well, let's talk options.
The Game Plan
Guess what? Kubernetes might already be running on your machine via Docker Desktop. Yep, you read that right – Docker Desktop comes with Kubernetes ready to roll. With this built-in Kubernetes, we're about to set up a local dev environment that feels like the cloud but runs within in minutes.
On top of that we’re bringing in mogenius. It helps you to deploy and manage services on your cluster with a jaw-dropping PaaS experience.
Before we get into the details, make sure you have these tools installed and ready to use:
- Docker Desktop
- Helm
- kubectl
Running Kubernetes with Docker Desktop
Let’s get started by deploying a Kubernetes cluster on your local machine.
- Fire up Docker Desktop.
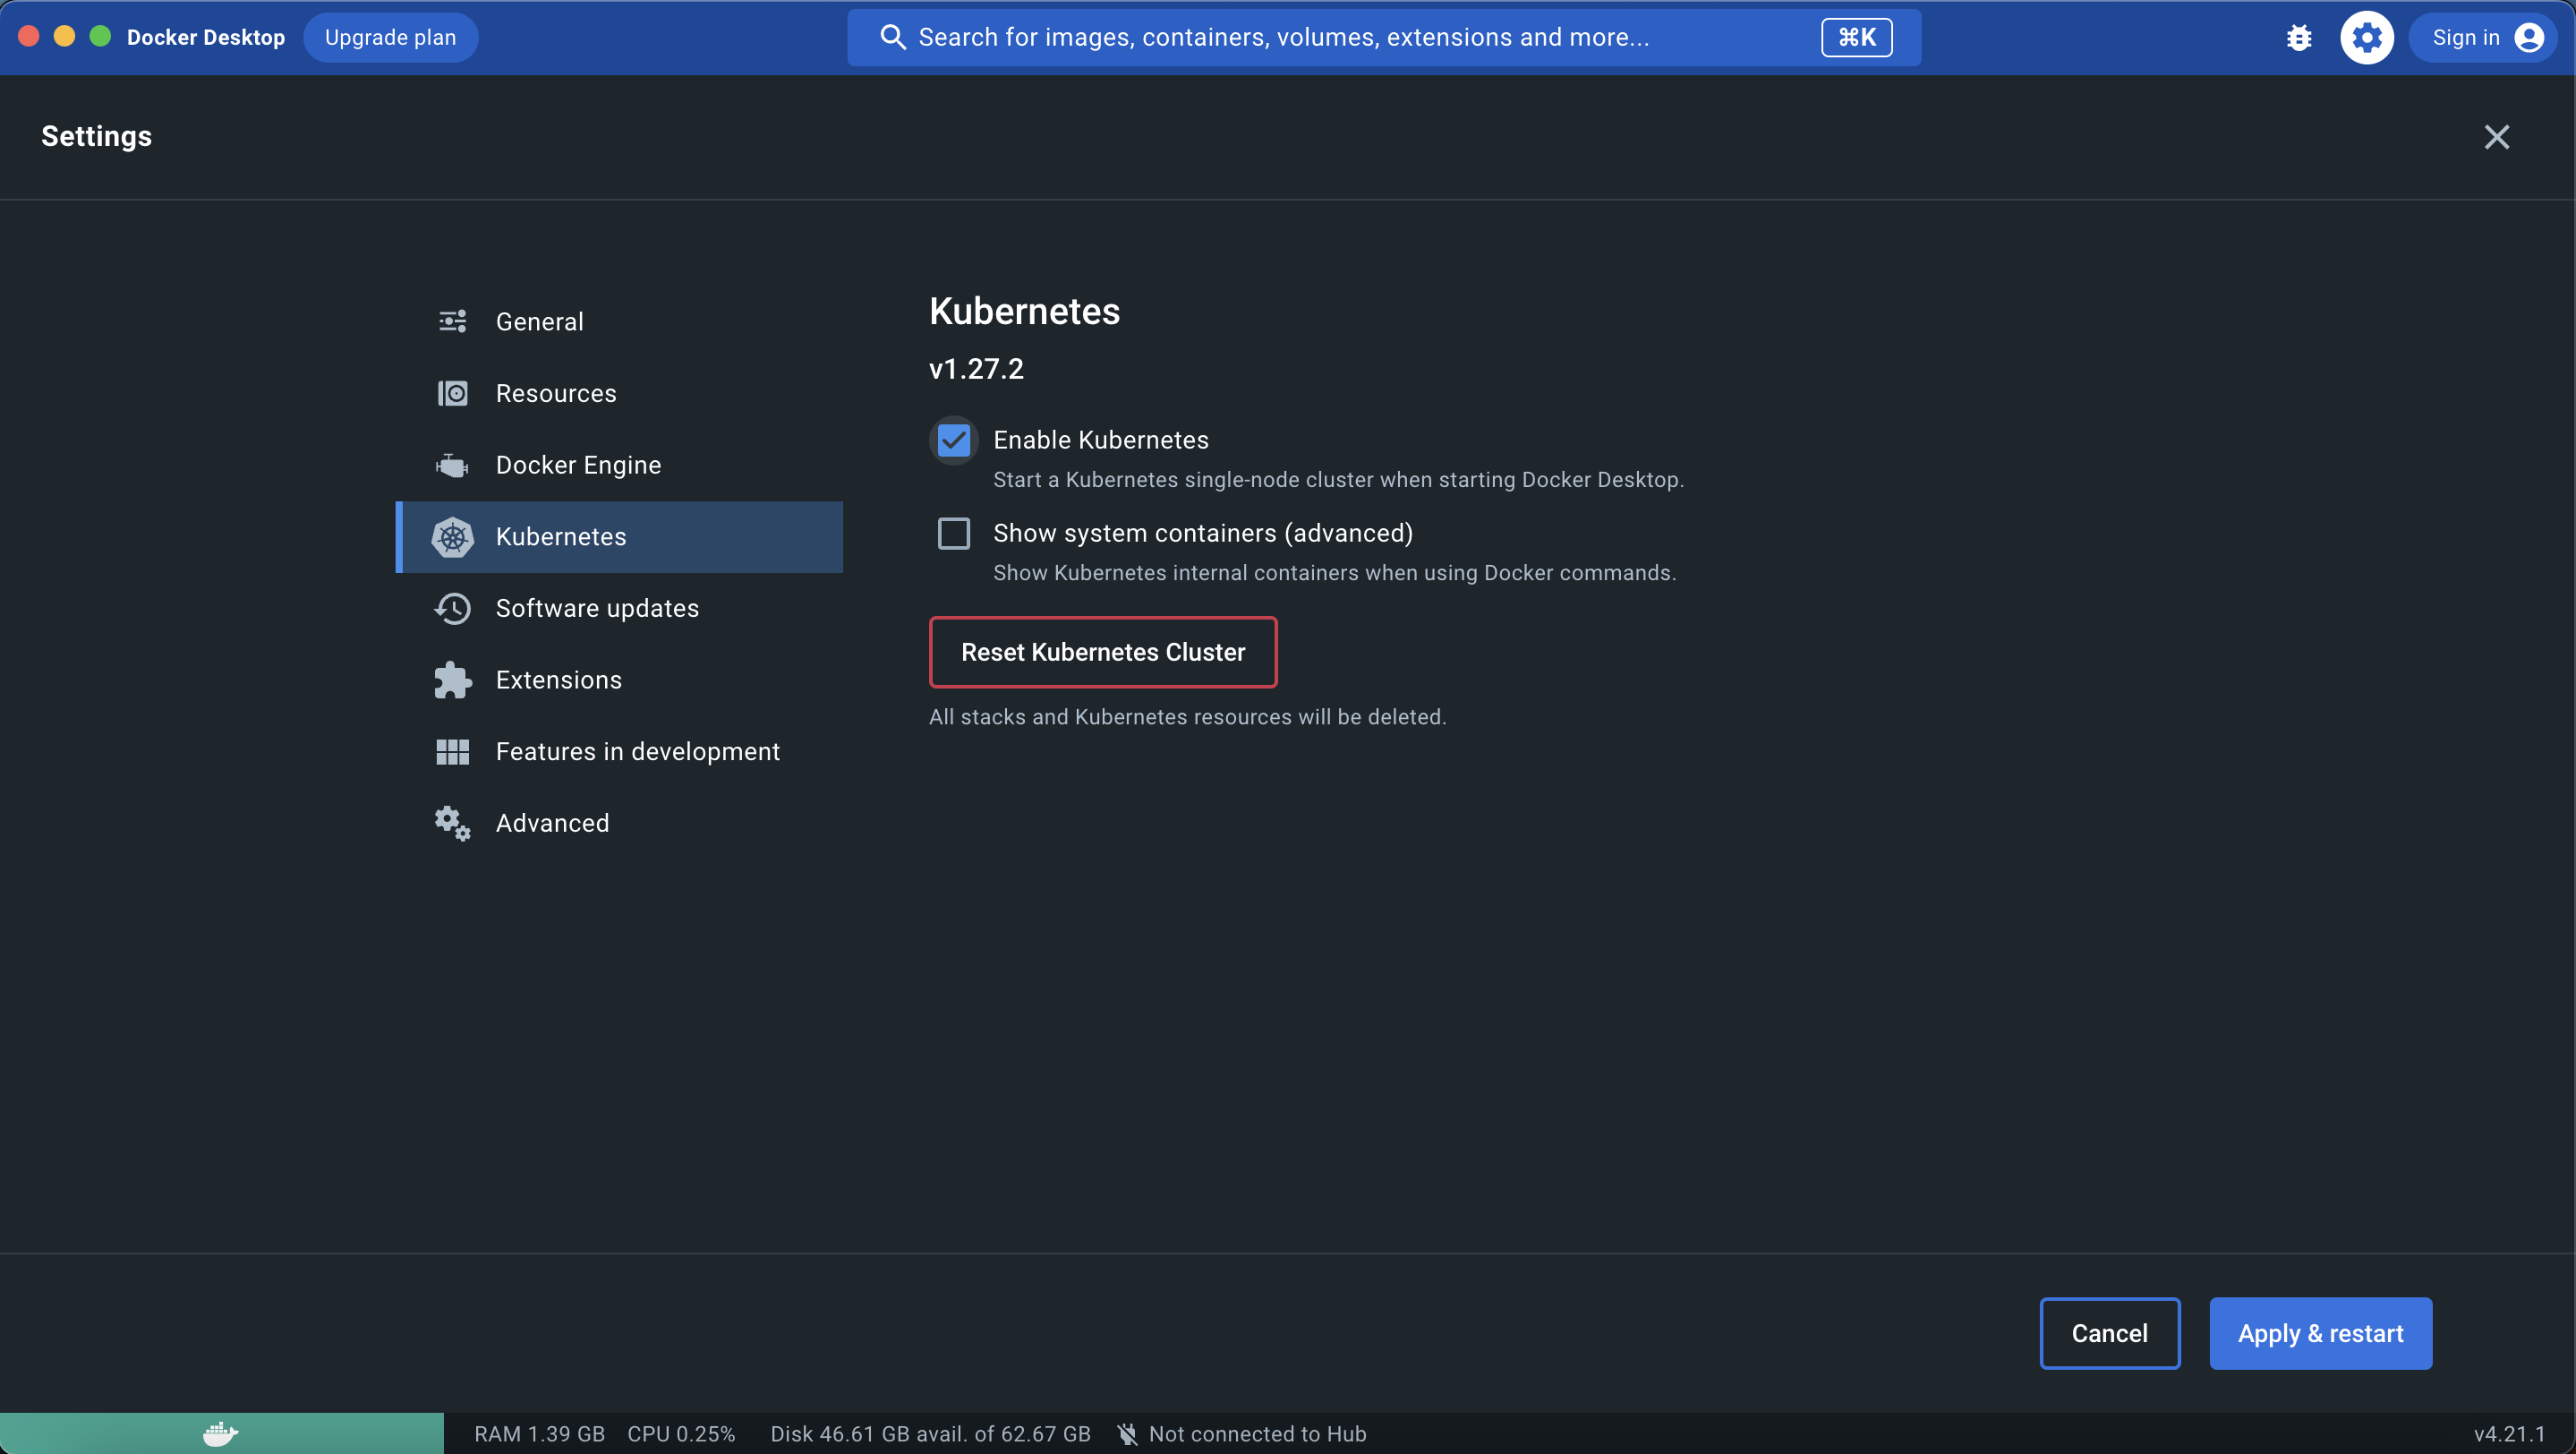
- Open the Settings.
- Find the Kubernetes section.
- Check the box that says "Enable Kubernetes."
- Click "Apply & Restart."

Boom! You've got a Kubernetes cluster right on your machine now. Look at the bottom left of Docker Desktop – see that "Kubernetes is running"? That's what you're looking for.
Now, open up your command line and type in 'kubectx'. Your cluster should show up as 'docker-desktop'. Set it as the current context with 'kubectx docker-desktop'.
Let’s set up mogenius as your IDP
First Step: Sign Up
Start off by signing up on mogenius at app.mogenius.com. Put in your email, pick a password and complete the process through the confirmation email.
Creating Your Organization
Organizations act like workspaces, with their own projects, users, and billing. Create one by entering a name and more details if you like.
Linking Up with Your Cluster
Time for the fun part: connecting to your Kubernetes cluster. In your organization, open clusters and create a new one. Give it a name and choose "Docker Desktop" as the cluster type.
Here's a basic walkthrough of these steps:
Getting the mogenius Operator in Action
Once you're in the "Connect page," it's time to handle the helm chart for the operator. For it to run with Docker Desktop, flip the switches for Traffic Collector, Cert Manager, Default Backend, and Ingress Controller.
Copy that helm chart and the command line where you’re connected with Docker Desktop (better double-check, ‘kubectx docker-desktop’). Paste it in, hit enter, and let the mogenius operator do its thing. Head over to mogenius and wait for the notification that says "Cluster connected."
To finish the setup go to "Settings" and fill in the load balancer form fields with the IP 127.0.0.1 as IP address and "localhost" for the hostname. And if you want to use the mogenius CI/CD pipeline, enter credentials to connect with your container registry in the respective section on the page. mogenius can build and deploy images right from Github or Gitlab and store them in this registry.
It's Go Time: Launching Your Services
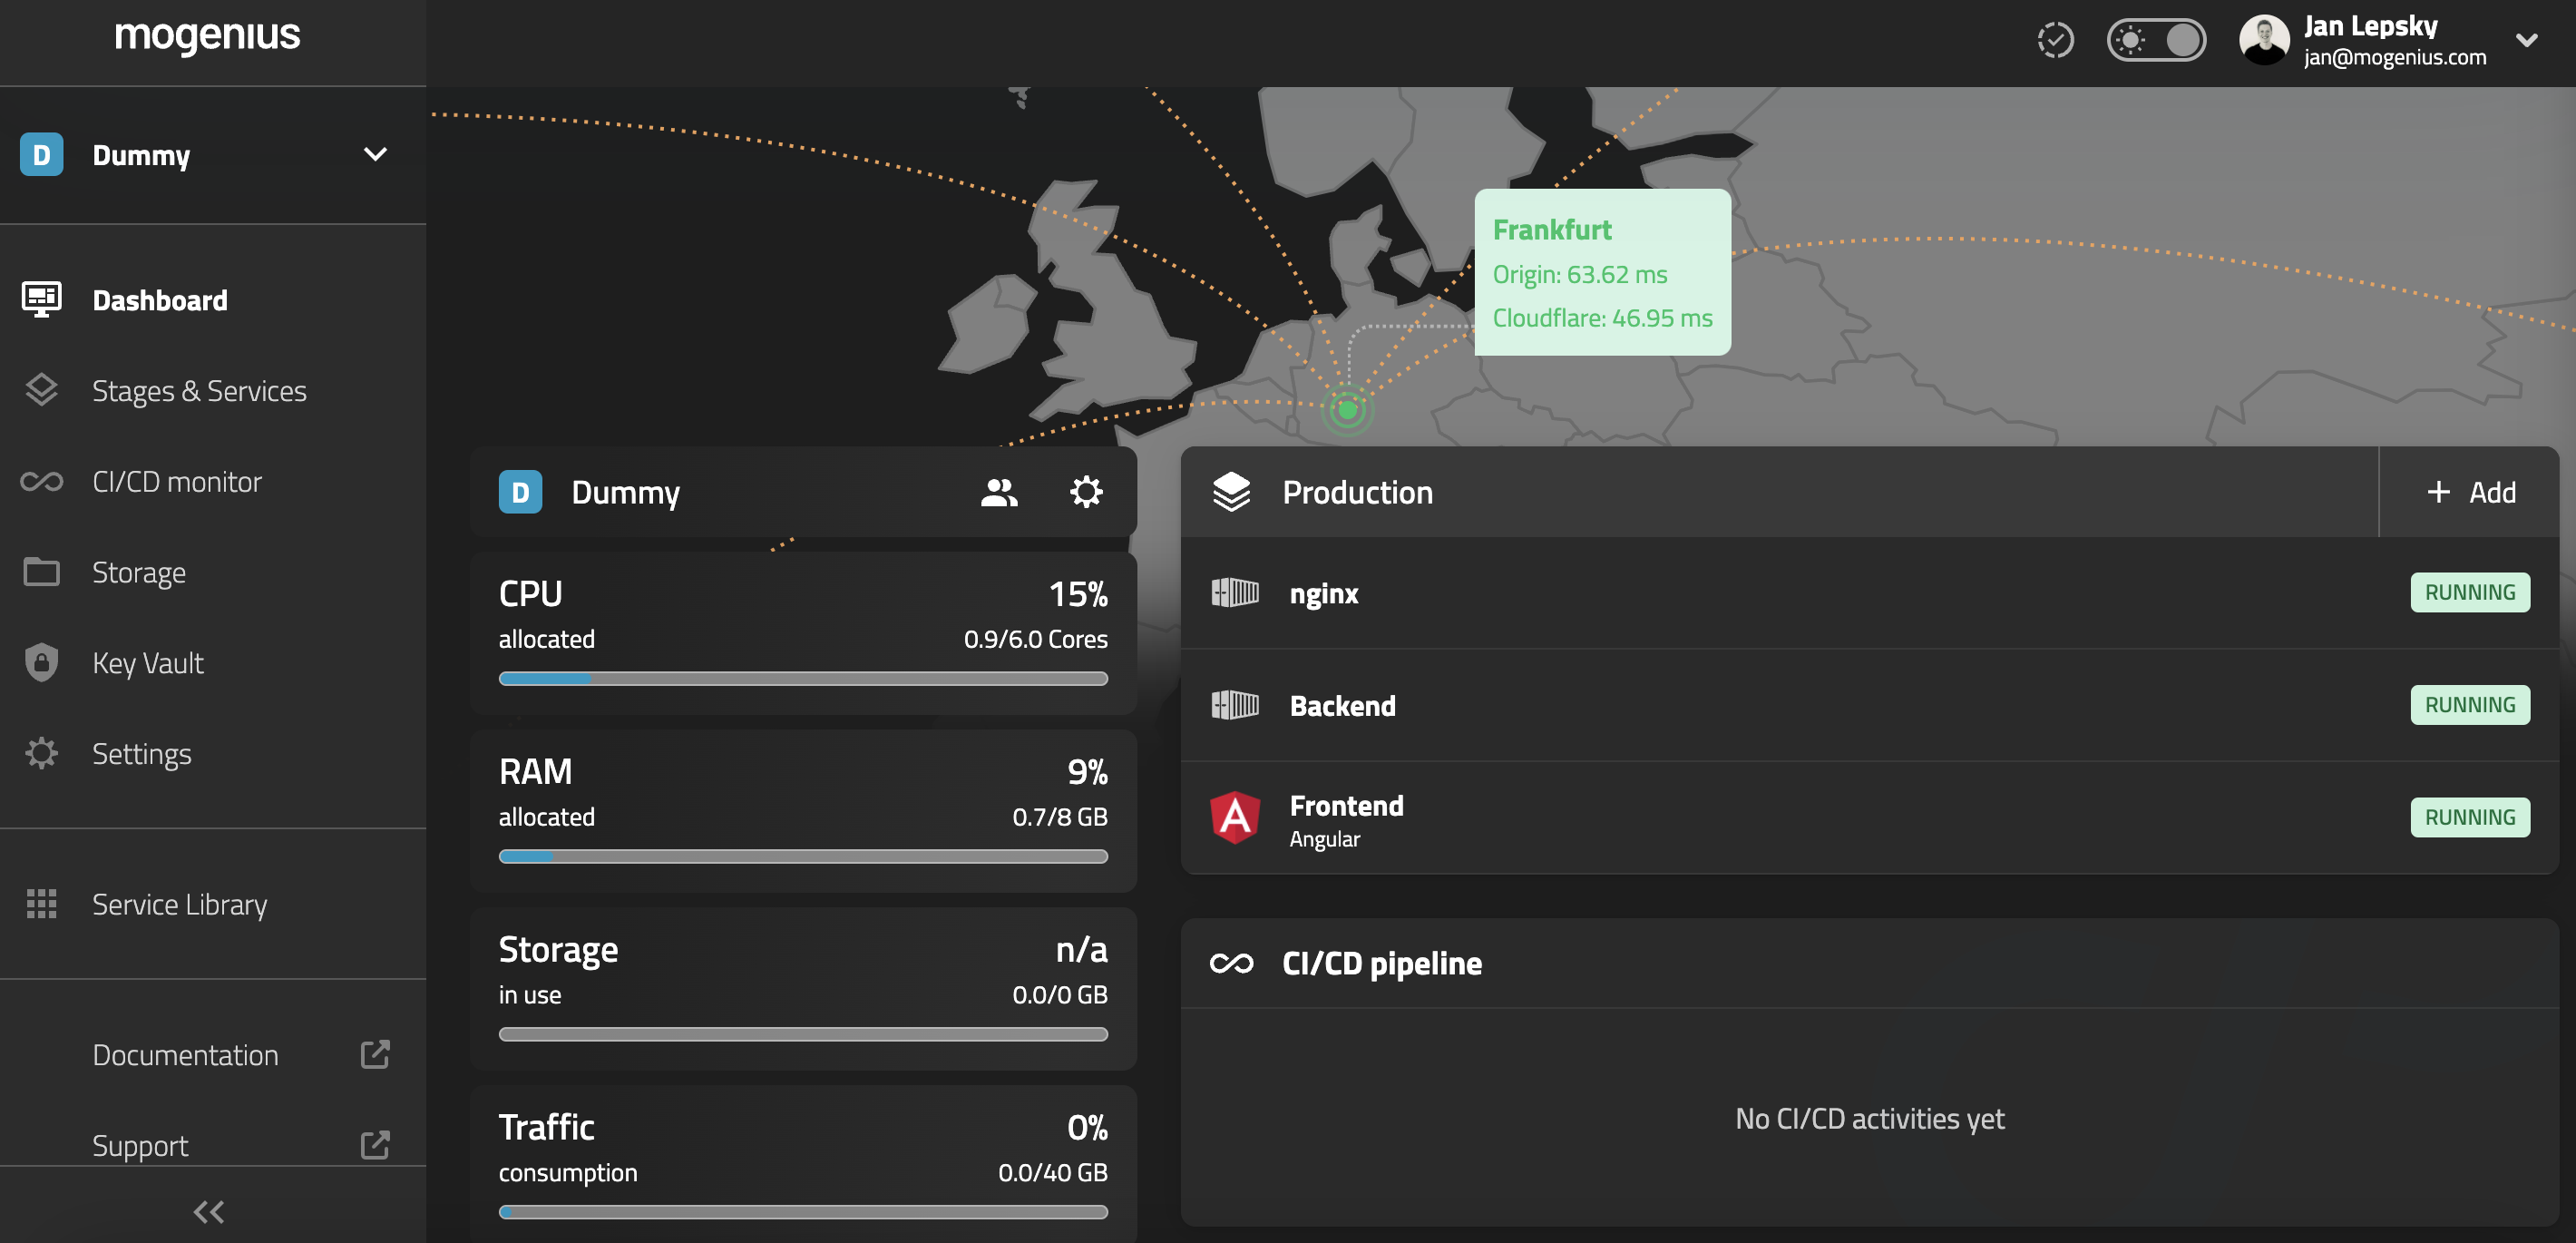
You're all set! Create projects in mogenius and start deploying services to your local cluster. Here's some ideas to begin with:
- Deploy container images from your own or public registries.
- Connect GitHub or GitLab and deploy a repository.
- Spin up a database for testing right from the service library.

Wrapping It Up
That’s it, we successfully tackled the challenge of creating a powerful local dev environment that actually behaves like production. With Docker Desktop and mogenius, we truly found the winning team with zero cloud costs and 🥹-like Developer Experience.
Stay tuned – next time, we're talking about taking this local magic to production. Got thoughts or questions? Reach out to us at community@mogenius.com.
FAQ
Interesting Reads
The latest on DevOps and Platform
Engineering trends
Subscribe to our newsletter and stay on top of the latest developments


